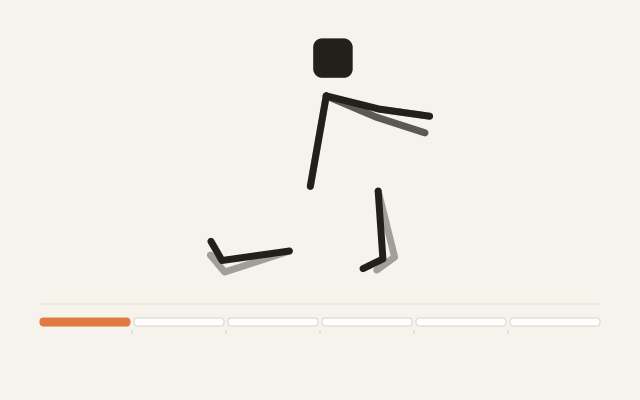
An ankle that cannot bend forward properly changes everything above it: the knee tracks badly, the hip takes a longer stride than it wants, and the calf works overtime on every step. This ladder measures the ankle first, then moves it in the two directions it actually needs — forward over the toes, and up and down through the heel — and finishes by putting weight through the new range so it stays.
Measure first, then move
The knee-to-wall step at the start is the only measurement in this sequence and it is worth doing honestly. Heel down, toes straight ahead, knee travels toward the wall until the heel starts to lift. The distance from the big toe to the wall is your ankle range for that side. Ten centimetres is a common target; below seven is usually enough to change how you walk and squat.
Two directions, not one
Most ankle work only does the forward direction, which is half the joint:
- Forward over the toes (knee to wall, wall calf with a bent knee) is dorsiflexion, the direction that decides whether you can squat to depth with your heels down.
- Up and down through the heel (calf raise, stair drop) is plantarflexion plus load, which is what the ankle does when you push off.
- Doing only the first builds range the ankle cannot use; doing only the second tightens a joint that is already stiff.
Why the ache is behind the knee
People working on ankle range often report a dull ache at the front of the ankle, which is normal — the joint is being asked to move into a space it has not used in years. A sharp pinch at the front, however, usually means the joint is being driven into bone rather than moved through tissue. Reduce the range by half and slow down; if the pinch remains, work only the calf-raise and stair-drop steps and leave the forward direction alone.
Questions about this sequence
How long before the knee-to-wall distance changes?
Measured right after a session it often improves by a centimetre or two and then goes back. A change that is still there on a cold morning takes four to six weeks of almost daily work, which is why this sequence is short and repeatable rather than long and occasional.
Does this help with squatting depth?
It is usually the limiting factor for anyone whose heels lift in a squat. Run this sequence before a squat session rather than after — you are trying to use the range while you have it, which is how the nervous system learns to keep it.
Should I wear shoes?
Barefoot for everything here. The point of the sequence is to move the joint through its range, and a shoe with any heel height at all removes some of the range before you start.

5 min6 stepsStandardCalves & ankles
Five minutes, one wall, and no floor work at all. This is the version to do when you are dressed for something else, in a corridor, or waiting for a kettle — the version that actually happens on the days the mat does not come out. It runs straight-leg and bent-knee work on both sides, then loads the new range with a slow calf raise.

5 min6 stepsGentleNeck & shoulders
The upper trapezius is the muscle that holds your head up all day and the one that a desk worker can feel without looking for it. Five minutes of gentle, anchored work will not undo a decade of it, but it reliably takes the edge off — provided you stop trying to stretch the neck from the neck alone. Every step here anchors the shoulder first, because a trapezius that is being pulled from both ends does not lengthen.

5 min6 stepsStandardCalves & ankles
This is the standing version of the calf work: five minutes, a wall and a step, no mat and no floor. It uses the wall for two different jobs — as a surface to press the heel into for the straight-leg work, and as something to hold for the balance-demanding versions — and it goes at the calves in the order that works: straight leg, then bent knee, then load.